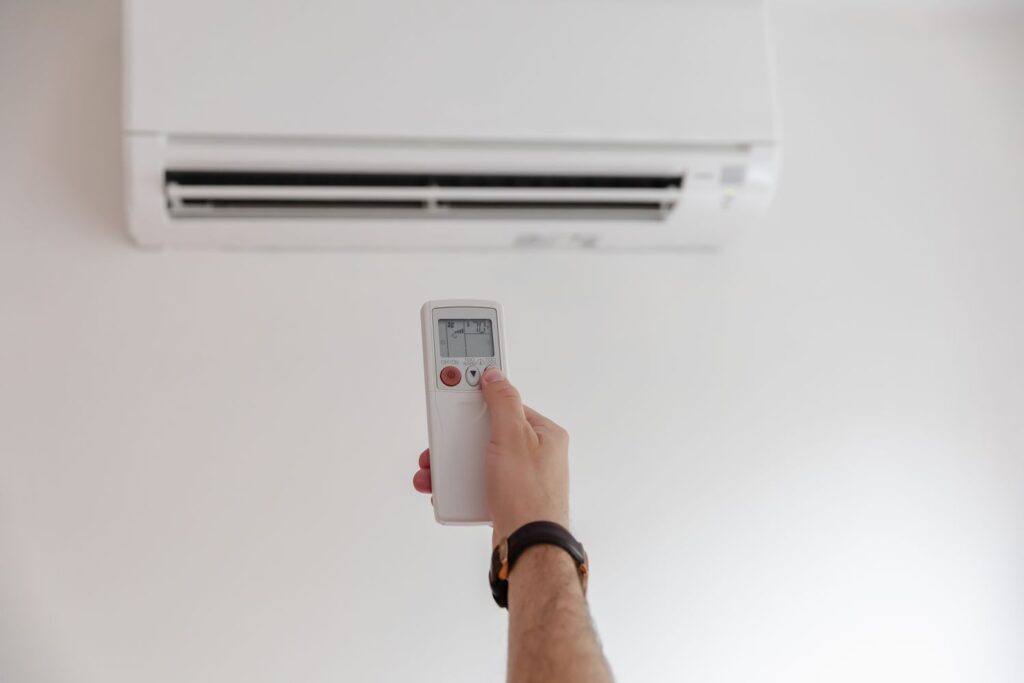
As winter breathes down our necks, homeowners gather around heating systems. Yet, many neglect their air conditioners, which also crave some attentive care. Winterising your AC isn’t just about comfort; it champions its longevity and saves you from future financial freezes. This smart investment preserves its peak performance all year long.
Follow this guide for essential steps to protect your aircon in Kurri Kurri during winter’s chill.
Why Winterising Your AC System Matters
Many think winter means a break from AC maintenance. Yet, winter’s icy grip can invite trouble. Snow, ice, and debris may wreak havoc on your system. This damage can silently sap the efficiency of your cooling companion. Don’t let seasonal assumptions lead to a costly surprise. Instead, give your AC the care it deserves all year round.
Here’s why winterising is crucial:
- Prevents Rust and Corrosion:
Protects metal components from moisture exposure.
- Avoids Frozen Components:
Ensures pipes and other parts don’t crack due to freezing.
- Reduces External Damage:
Covers the unit from dropping branches and waste.
- Improves longevity and output:
Conditions your system for an excellent restart in the warmer weather.
Now, let’s walk through the systematic procedure to safeguard your air conditioning system in the winter.
Step-by-Step Guide to Winterising Your Air Conditioner
Step 1: Turn Off the Power
Switching off your AC unit prevents accidental activation on warmer winter days. Here’s how:
- Locate the exterior power circuit (usually found near the condenser unit).
- Open the protective cover and toggle the switch to ‘Off.’
- If your house features an inside power switch for the AC, deactivate that as well.
- To block unintended activation, apply a section of tape over the switch.
Step 2: Clean the Outdoor Unit
Before covering your AC for winter, clean it thoroughly to remove debris:
- Remove Debris:
Clear leaves, dirt, and twigs from around and inside the unit.
- Hose Down the Unit:
Use a soft flow of water to rinse away built-up grime.
- Allow it to dry fully:
Check that the unit is completely dry before covering to prevent mould or rust emergence.
Step 3: Inspect for Damage
Performing an inspection ensures no existing issues worsen over winter. Look for:
- Cracks or Dents:
Examine the exterior casing and panels.
- Refrigerant Line Leaks:
Check for signs of leakage or wear.
- Loose Connections:
Ensure electrical and mechanical components are secure.
- Professional Inspection:
If any damage is found, schedule a technician’s visit before sealing the unit.
Step 4: Insulate the Pipes
Unprotected pipes are vulnerable to freezing temperatures, which may lead to cracks and leaks. Here’s how to insulate them:
- Purchase foam pipe insulation from a hardware store.
- Measure and cut the insulation to the appropriate length.
- Wrap the insulation around any exposed pipes.
- Secure with duct tape or zip ties for added protection.
Step 5: Cover the Outdoor Unit (Properly!)
A common mistake is using non-breathable plastic covers, which trap moisture and encourage mold growth. The right way to cover your AC:
- Use a Breathable Cover:
Opt for an AC-specific breathable cover or use plywood to shield the top from snow and ice.
- Avoid Full Plastic Wraps:
These can cause condensation buildup.
- Secure the Cover:
Use bungee cords or straps to hold it in place.
- Leave Space for Airflow:
This prevents moisture accumulation and pest infestation.
Step 6: Replace or Clean Air Filters
Even though your AC won’t be in use, replacing or cleaning filters is beneficial, especially if you have a combined HVAC system. Dirty filters:
- Reduce airflow and efficiency.
- Lower indoor air quality.
- Cause the heating system to work harder than necessary.
Step 7: Perform Routine Winter Checks
Winterising doesn’t mean forgetting about your AC until summer. Periodic inspections help ensure:
- Snow and Ice Removal:
Clear accumulated snow or ice from the unit.
- Cover Integrity:
Ensure the cover remains secure and dry.
- Pest Prevention:
Check for signs of rodents or insects nesting inside.
Preparing for Spring: Bringing Your AC Back to Life
As temperatures rise, your AC will soon be needed again. Follow these steps to prepare it for optimal performance:
- Remove the Cover:
Store it for next winter.
- Remove Pipe Insulation:
Ensure pipes are clear and unblocked.
- Turn the Power Back On:
Restore the power at the circuit box.
- Schedule a Maintenance Check:
A professional inspection ensures efficiency before heavy summer use.
Conclusion
Winterising your air conditioning system is a straightforward process that saves you from costly damage and keeps it running efficiently. Taking these simple steps protects your investment and keeps your unit running smoothly when the weather warms up. A bit of effort now can spare you from pricey bills and stress down the line.
By following this guide, you’ll give your AC system a longer life, slash your energy bills, and dodge unnecessary repairs. Get a head start on prepping your air conditioner for winter today.
Contact Onsite Air for any further aircon needs in Kurri Kurri.


